House construction process from start to finish in India 2022
Today we have look about House construction step by step process from beginning to ending. This Process has two major categories,
- Procedure of Pre-Construction and
- Procedure of Construction.
Any method
of construction which is included in the home building process from beginning
to end is not a simple task. It really could use a lot of work and cost. But
although building construction is laborious and time-consuming, the end result
is a lifelong asset for us. Residential building construction is a deliberate
process that is carried out by capable people.
$ads={2}
As a result,
precaution should be used in the building construction process. Before to
planning, building construction projects must take crucial things into
consideration, such as the project's purpose, usefulness, profitability, labour
demand, etc.
Here, a
detailed explanation of the building construction process from beginning to end
is provided. Start by taking a few preconstruction and construction steps
Looking for House plan : 1bhk | 2bhk | 3bhk
Procedures of Pre-Construction
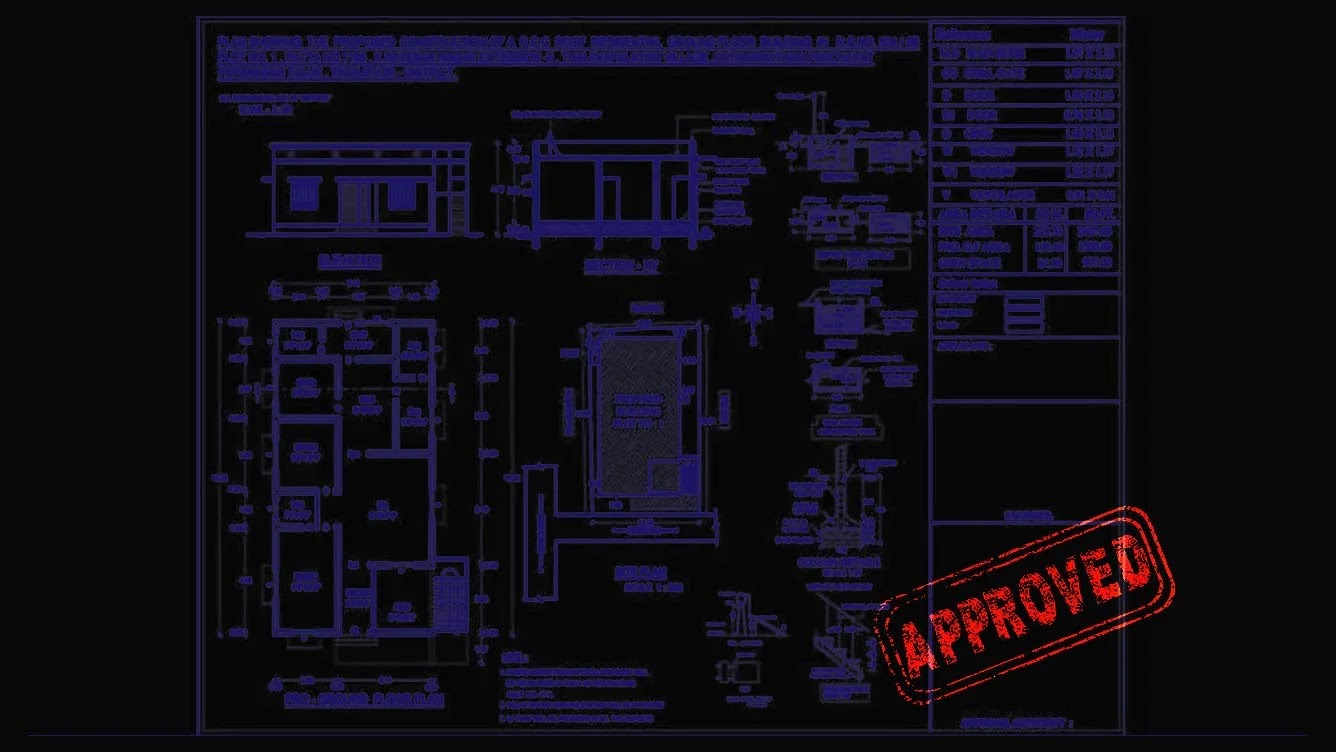
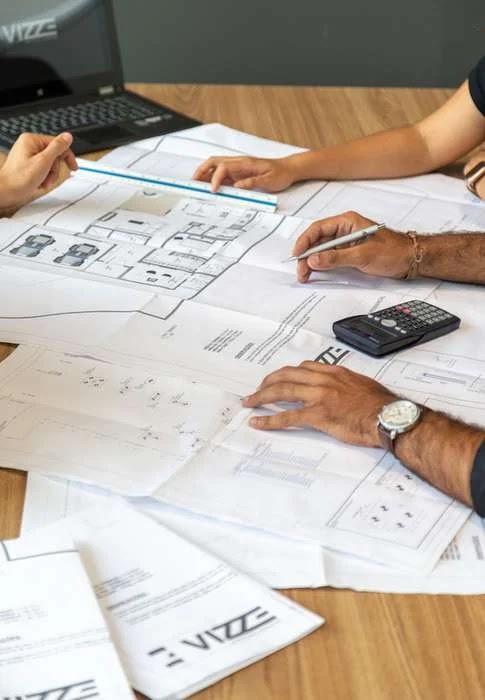
Get Your Home Designed
Hiring an
Architect or a Civil Engineer or a Construction company that provides
end-to-end services is the ideal method for building your home. Architects or
Engineer usually know the building
construction rules established by municipal governments. They design the
structure in accordance with regional requirements. Some of the requirements
include FSI (Floor Space Index), setbacks, and so on.
Planning submission
for government approval for local Authorities
Once the
plans are completed, they should be submitted to the government municipalities
for approval. The local authority is determined by the locality in which you
decide to construct your house.
You should apply to a department of town planning in municipalities.
- In villages, you should submit to the Village Panchayat .
- For permission, you must pay a percentage of the area you are building. Obtain permissions for all plans before starting the construction.
Get
Architectural and Structural Drawings
Individual
homeowners would not generally choose structural designs. This is a concern for
two reasons:
- Contractors frequently overdesign structures, consuming construction materials. A good design will reduce material usage depending on your requirements.
- Contractors work on thumb guidelines while designers create designs based on user feedback. So, when you have plans for future growth, a designer can provide you with the perfect solution based on your requirements.
Get
Construction Quotations
Once the
drawings have been approved, you must contact contractors who can build the
house according to the drawings. Be cautious of the quotations you received.
Despite Civil Engineering is a fundamental subject, there are several
materials, companies, and procedures available on the market, which can lead
building costs to differ.
Financial
Support ?
So now you know the overall building costs, you will begin raising money for the project. Your source might be personal savings or a loan from a bank or a friend. Although this may appear to be a foolish action to take, a lack of resources throughout the project stage may cause the budget to be exceeded.
Contractors
will charge for demobilisation or remobilization. Some building materials, such
as cement, may expiry or lose strength if kept for an extended length of time
(more than 6 months from date of manufacture). So obtaining finance prior to
the beginning of the project is equally as vital as the other steps described
above.
Set up
temporary water, electricity, and material storage (if needed)
The most
essential facilities necessary for a contractor before deploying his labour are
temporary water and power. Typically, the plot owner is in charge of providing
these facilities to the contractor. As a response, owners should prepare for
these.
Cement for example, cannot be kept in open locations
for an extended period of time. As a result, a temporary storage room must be
constructed to guarantee that the materials are not exposed to the environment
and become destroyed. These materials can be stored within the structure once
the first floor slab is completed.
Looking for House plan : 1bhk | 2bhk | 3bhk
Procedures of Construction
1. Preparation
of the Site or Levels
Before
beginning work, the building site must be cleaned. This process includes
removing tree roots, garbage, and levelling the land.
2. PCC and
excavation
The base of
the building land is dug using excavation equipment in accordance with the
construction dimensions indicated in the plans. Before laying the foundation
reinforcements, a layer of PCC (Cement concrete) is put in the excavated area
of this foundation trench.
3. Foundations
- Substructure
The
building's base component that touches the ground and serves as the structure's
support is known as the foundation. A building distributes load from the
superstructure to the earth and must be exceedingly robust to withstand the
load. Following the completion of the PCC work, foundation reinforcement work
is initiated. Before concreting, the foundation's lowest level must be tested.
Earth fills the remaining area between the foundations.
4. Plinth Level
- Substructure
Following
the completion of the foundation construction, ground beam formwork preparing
and concrete pouring begin. Masonry construction has begun above the plinth
beam. Soil fills the area between the foundation and the plinth beam.
$ads={2}
5. Pillar –
Superstructure Level
6. Work on
Brick Masonry
After the
construction of the column and beam structure, masonry work with various
materials such as bricks, Hollow bricks, concrete blocks, Interlocking Bricks, fly ash bricks, and so on is begun
in accordance with the building drawing. Masonry work is finished with a cement
mortar mix. It's made up of cement and sand. During this time, spaces for doors
and windows are properly set out according to the plan the bricklaying
7. Above
Door Window Gaps Lintel
The lintel
is designed to support the masonry construction above the door and window. Following
this, more masonry work will be completed.
8. Roof
Construction
The formwork
for the slab sitting on the column and beam is then completed. Slab
reinforcement is installed from over formwork according to the slab detailed
drawing.
$ads={2}
9.
Fittings of windows and doors
Next that,
the windows and doors frameworks are installed in the positions mentioned in
the drawing.
10. Terrace
or Rooftop Finishing
Waterproofing
is applied to the slab's surface to prevent leaks. Terrazzo tiling is typically
done to protect the slab from deterioration.
11. Plumbing
and electrical works
Buildings,
as all of us know, are built with a smooth surface that conceals electrical and
plumbing services. They are inserted in the walls and slabs in such a method
that they are hidden and not apparent after the finishing work is completed.
The point and pipe ends are left unfinished so that they may subsequently be
fitted with electric fittings and plumbing accessories.
12. Finishing work, both external and internal
Internal
walls are plastered with a clean finish, and the ground is tiled. The walls are
afterwards painted or textured.
After this
work is done, exterior plastering and finishing will begin. Waterproofing is
also done to prevent humidity from rising in the wall. External cladding can
also be used to improve the house's elevation.
13. Painting
works
The most
essential goal of home painting is to extend the lifespan of our house, and
adding colors to it is to make it a stunning look. The painting job not only
adds colors to the house walls, but it also protects the house from stains and
filth and extends the life of the house; nonetheless, walls have a way of
discovering certain stains.
There are
numerous paint grades that can be used to preserve our house for a long time
from stain, mud, sunshine, rain, dirt, and so on, ranging from basic paint to
high-quality paint that can give our property an extra 5 to 10 years of life
and an excellent look on the outside and inside.
 | |
|
Explore house plan :

.webp)


.webp)

